If you’re switching web hosts, changing domains, or moving to a new CMS, you might need to migrate your website. However, without following a website migration checklist, you can run into trouble. For instance, you might lose your search engine rankings or disrupt your user experience.
That’s why it’s super important to follow a good website migration checklist to make the process as smooth as possible. In this post, we’ll give you just that and discuss some key steps to ensure a successful website migration.
Let’s get to it! ✅
.png)
Website migration checklist 📚
- Choose your timing wisely
- Inform your customers
- Put your site in maintenance mode
- Make a fresh backup
- Prepare your new hosting credentials
- Disable caching, firewalls, and redirects
- Migrate site files and database
- Point domain name to new host
- Test SSL certificate
- Test functionality (including backend)
- Run a speed test
- Check indexability
- Close old hosting account
- Perform search and replace on database
- Set up 301 redirects
- Test redirects
- Update name server and DNS
- Crawl your site to check for issues
1. Choose your timing wisely ⏰
If you need to migrate your website, it’s best to choose your timing carefully. This way, you can ensure that your site’s migration has the least effect on your visitors.
Of course, while you migrate your site, your content will be unavailable for a short time, so you’re bound to witness a small drop in traffic. However, you can minimize this effect by avoiding peak times to migrate your website.
Instead, opt for quieter periods such as very early in the morning or late at night. Obviously, this depends on where your servers are based, and where the majority of your traffic comes from.
If you serve a global audience, it can be difficult to pin down a time when all of your visitors are sleeping. However, for small businesses that serve a more local audience, it may be easier to migrate your site at a time that causes minimal disruption to your users.
2. Inform your customers 🤳
No website migration checklist is complete without informing your customers. Although you may be able to time your migration so that it’s more convenient for your visitors, it’s still important to alert them of the process.
For example, you might display a notice on your website, or email your subscribers directly. This way, customers know to avoid your website while the work is being undertaken.
This is especially key for an ecommerce store since it enables shoppers to get their orders in before your site becomes unavailable. As a result, you can reduce the revenue hit that your website migration may cause.
3. Put your site in maintenance mode 🚧
Another important part of our website migration checklist is to put your site in maintenance mode before you get started. This is especially relevant if you run a multi-author website, like a news website or a blog.
By putting your site into maintenance mode, you can ensure that users can’t make any changes to your content during the migration. For example, writers won’t be able to edit or publish posts during this period. Meanwhile, visitors won’t be able to view or engage with your site.
WP Maintenance Mode is a completely free plugin that makes it simple to enable maintenance mode in WordPress:
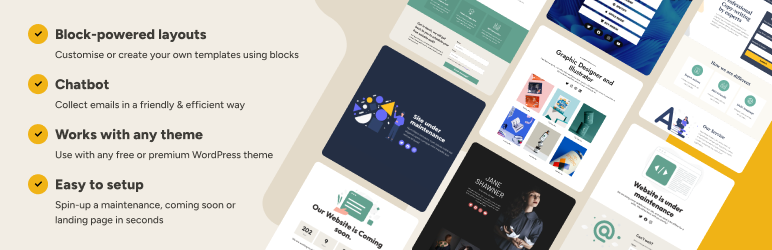
Better yet, the plugin helps you preserve your User Experience (UX) by creating a custom maintenance mode message. Plus, you can also add a contact form or subscribe form to your maintenance page, so that visitors can get notified when the migration is complete.
4. Make a fresh backup of your website 💽
One of the most vital points of a website migration checklist is to make a fresh backup of your site. This way, you’ll have a complete, up-to-date copy of your website on hand. Then, if anything goes wrong, it’s super simple to restore your site to its original state.
You can find tons of backup plugins to help you do this. However, Jetpack is an excellent choice:
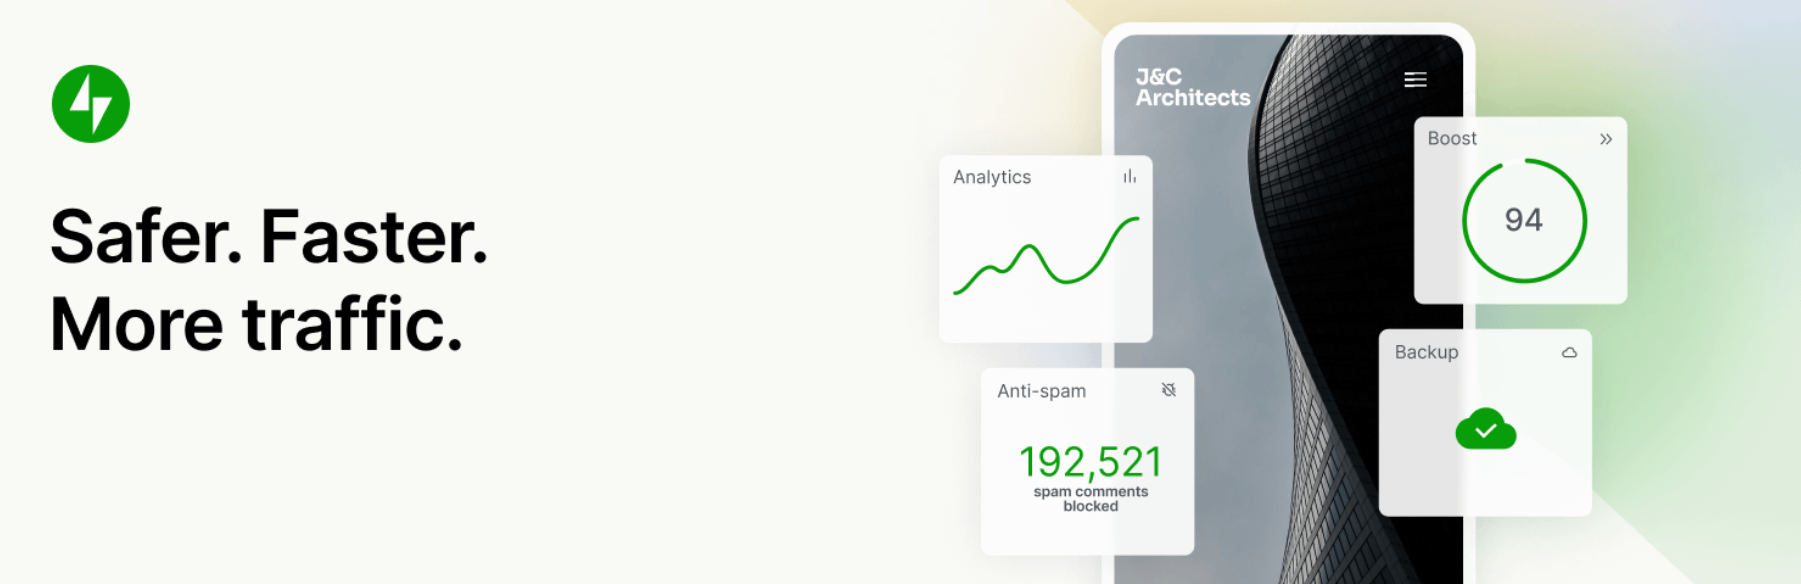
With a one-click restoration process, it couldn’t be easier to get your website back up and running. Plus, you’re able to back up all your site files as well as your WooCommerce customer and order data.
5. Have your new hosting credentials ready ☁
Next on the website migration checklist is to prepare your new hosting credentials. You might have already set up a new hosting account. In which case, you can re-familiarize yourself with the tools and settings, or contact the support team if you have a question about the migration process.
However, if you haven’t yet settled on a new hosting provider, now is the time to consider your options. Fortunately, there are tons of quality hosting providers like Bluehost that offer free WordPress installations:
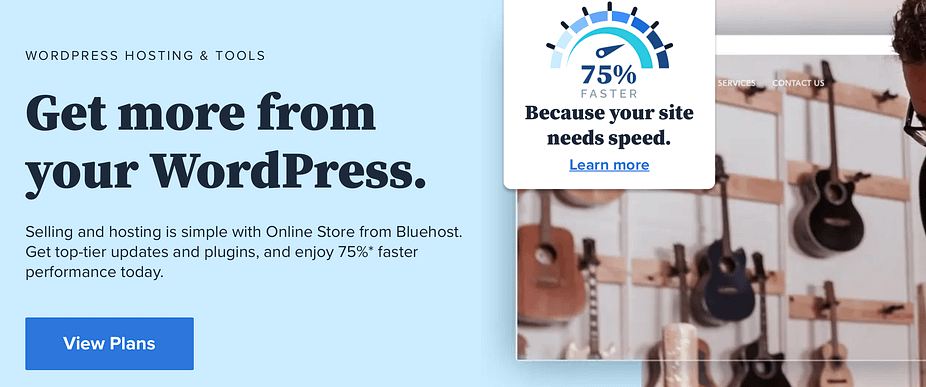
Choosing your new web host at this point will give you some time before the migration. Therefore, you can get yourself set up with a new account and make sure there are no issues.
6. Disable caching, firewalls, or redirect plugins 🔌
Right before you reach the migration stage, it’s important to disable any caching plugins, firewalls, or redirect plugins that are active on your site. This is because these sorts of tools have the potential to cause multiple issues during the migration process.
For instance, a firewall can limit the number of requests your website is able to receive. However, sometimes, the migration process generates lots of requests containing the site files that you’re migrating. As such, the firewall can block these requests and a timeout error may occur.
Other times, you might encounter 403 Forbidden errors and 500 Internal Server errors without deactivating these tools. But, it’s important to remember to reactivate these plugins once your website is up and running with your new host.
7. Migrate your site files and database 🚚
The main part of a website migration checklist is when the migration actually gets underway. At this point, you’re ready to migrate your site files and database.
For advanced users, you might be migrating your site manually. In which case, you’ll need to log in to your hosting account and access your File Manager. Otherwise, you can connect to your site files using FTP.
- First, you’ll need to find the root directory of your site (usually labelled public_html).
- Then, you can upload the site files that you backed up in step 4 of our website migration checklist.
- You’ll also need to migrate the database to your new hosting server. Therefore, navigate to the Databases section of your cPanel dashboard and select MySQL Databases.
- First, you’ll need to create a new database and add a new user. Then, upload your existing database using the Import tab. It’s also important to edit your wp-config.php file so that your site directs to the new database.
An easier approach altogether is to use a site migration plugin like Duplicator. The interface is easy to use and it helps you stay safe when moving your files and data from site to site.
👉 Here’s a detailed step-by-step guide on how to migrate your site using Duplicator.
8. Point your domain name to your new host 📛
Next on the website migration checklist is domain management. Before you find out whether your website migration has been successful, you’ll need to point your domain name to your new host.
You’ve probably heard of Domain Name System (DNS) records, but you might not know exactly what they are. Essentially, DNS records connect your domain name to the servers that host your site, including your host’s nameservers.
If you’re getting set up with a web host that includes free migrations, your new hosting provider will likely update the nameservers automatically. So, you won’t have anything to do at this point.
However, if you’re migrating your site manually, you might have used a domain registrar for your domain name. If so, you’ll need to log into that account to update your DNS settings.
9. Test your SSL certificate 🔐
We’ve included plenty of tests on our website migration checklist to help you find out whether the process has gone according to plan. First up, you’ll need to test your SSL certificate.
The best way to do this is to load up your site in an incognito window. If you see a lock icon next to your site’s URL, you know that the SSL certificate is working:
However, if a security warning displays, you’ll need to check that you’ve set up an SSL certificate through your host. Therefore, you might need to reach out to the customer support team.
10. Test your website’s functionality (and backend functionality) ⚙️
Next, it’s super important to test your website’s functionality to make sure that there are no UX or User Interface (UI) issues. To start off, it’s best to visit the frontend of your site in a new tab. All you need to do is interact with your pages in the way that a customer would.
So, if you have any forms on your site, you can complete the fields and submit the form. You can also test your frontend functionality by leaving comments in your blog posts, clicking on links, or adding products to the cart.
However, it’s important not to forget about your site’s backend functionality. Therefore, you can have a good dig around in your WordPress admin panel.
You might check to see whether your plugins are activated with the correct settings. Plus, you can make sure that users still have access to the dashboard. Additionally, it’s a good idea to confirm that all your automated tools are running smoothly.
For example, if you have an email marketing provider synced to your subscription form, you can make sure it’s capturing email addresses. You might also make a fresh backup and check that the plugin is saving copies of your site.
11. Run a page speed test 🏎️
One of the final tests to complete following your website migration is a page speed test. This way, you can detect any issues with your new server.
All you need to do is open your preferred speed testing tool to get started. WebPageTest or Pingdom make excellent options:
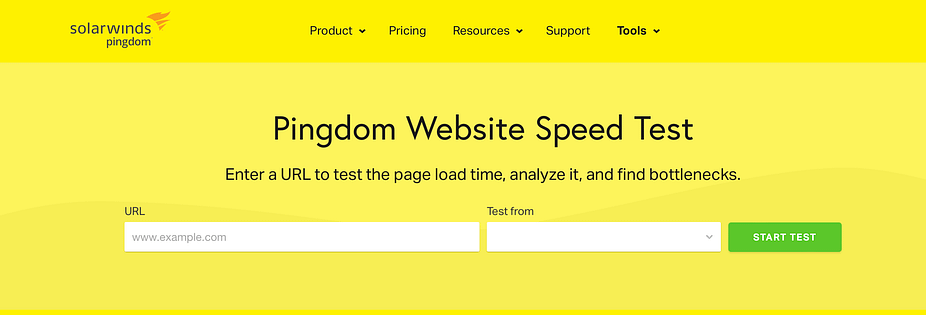
When the test is complete, you’ll be able to access a detailed report about your site’s performance. If you’ve upgraded to a faster web host, you should receive a high score. If not, it might be worth contacting the customer support team to alert them of a potential issue.
12. Make sure your site can be indexed 🗄️
As you near the end of our website migration checklist, it’s time to make sure that your website can be indexed. Otherwise, your pages won’t show up in the search engine results page.
The easiest way to do this is to log into your Google Search Console account (or create an account if you don’t already have one). Then, you can use the URL Inspection tool to check on each of your pages.
13. Close your old hosting account 🚫
Once you’ve run all the major checks following your website migration, you’ll know whether the process has been successful. So, if you’re happy with the state of your new site, you can go ahead and close your old hosting account (unless you have other domains or email accounts registered with the provider).
Extra steps if you’ve switched to a new domain name:
At this point, you might be finished with our website migration checklist. However, if you’ve switched to a new domain during the process, it’s a good idea to complete five additional steps.
14. Perform search and replace on your database 🔁
If you’ve switched to a new domain manually, you’ll need to do more than move over your website files and database. This is because there will be references to your old domain name in the database. Therefore, it’s a good idea to perform a search and replace function.
During this process, you’re able to identify every instance of your old domain and replace it with your new one. Of course, you can do this manually. However, it can be easy to make a mistake.
So, instead, you might prefer to use a plugin like Better Search Replace:
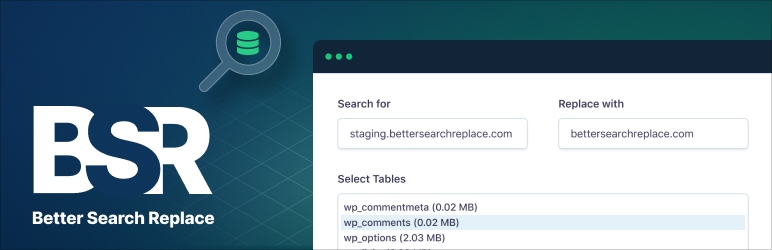
The search and replace functionality in this tool is based on an open-source Search Replace DB Script. But, it’s been modified to ensure smooth compatibility with WordPress native database functions.
15. Set up 301 redirects 🚦
If you’ve switched to a new domain name, it’s also important to set up 301 redirects following your website migration. This way, when customers visit your old URL, they’ll automatically be redirected to your new website.
There are many ways to set up 301 redirects for your site. For example, some SEO plugins enable this functionality. But, the most rock-solid method is to use a dedicated plugin like Redirection. Also, if you’re an experienced WordPress user, you can also set up 301 redirects by editing your .htaccess file.

16. Test your redirects 🚸
After setting up 301 redirects, it’s vital to test that they’re working. If they’re not working properly, the request to your site will return a 404 error:
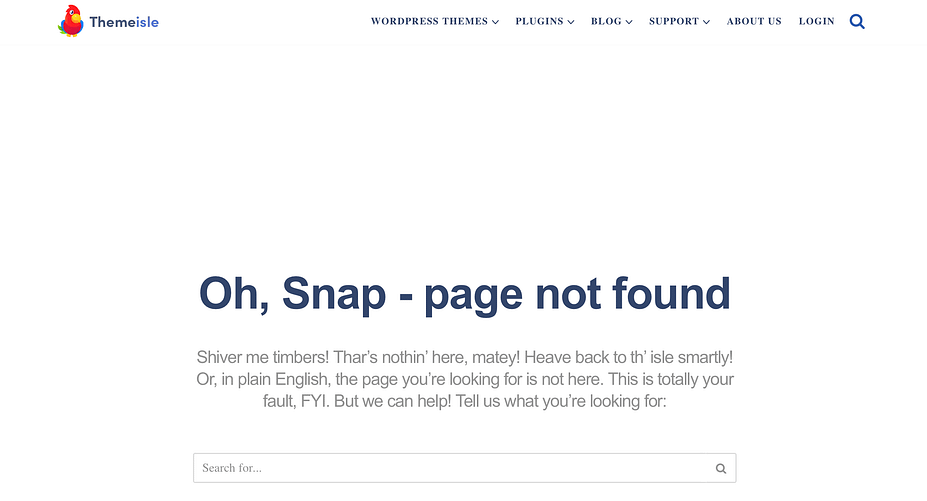
Although you can create a custom 404 page to salvage the UX, 404 errors can affect your site’s search ranking. Therefore, it’s important to set up your 301 redirects successfully to inform visitors (and search engines) that your site has been permanently moved to a new location.
17. Update name server information and DNS settings 🛡️
As discussed, if your new web host is handling your website migration, they’ll likely update your DNS settings automatically. But, if you’re migrating your site manually (and switching to a new domain), you’ll have to do this yourself.
The process looks a little different depending on your domain registrar. But before you get started, you’ll need to know which nameserver records to use.
You can usually find this out from your new web host. But to give you an idea, if you’re using Bluehost as your new web host, your nameservers might look like this: ns1.bluehost.com or ns2.bluehost.com. Although some web hosts use IP addresses instead.
Then, you can usually change your nameserver information and DNS settings by logging into your hosting account, or your domain registrar account. For example, if you use Domain.com, you can do this by clicking on the DNS & Nameservers link in the sidebar.
18. Crawl your site to spot issues 🐛
The final step of our website migration checklist is to crawl your website to identify any issues that the migration may have caused. This can include broken links, redirect chains, and duplicate URLs.
To get started, you can find a free website crawling tool like Screaming Frog or the industry-standard Ahrefs. Though, this one is a paid solution.
Those tools will not only crawl and audit your site for SEO issues, but you can also export errors and source URLs if you’re hiring a developer to fix these issues for you.
Your website migration checklist ✅ is complete
Migrating your website can be a stressful process. Plus, there’s a ton of room for error. That’s why it’s a good idea to follow a website migration checklist to avoid common issues and ensure a successful migration.
For example, you can make a fresh backup of your site, and disable caching plugins and firewalls. It’s also important to test your SSL certificate, website functionality, and website performance. Additionally, if you’ve switched to a new domain, you’ll need to set up 301 redirects and update your DNS settings.
Post a Comment