
3 Ways to Get Better Ecommerce Product Photos for Your Ecommerce Store
High-quality eCommerce product photos present a clear representation of what online shoppers should expect from your brand. They also make for an appealing shopping experience and have significant potential for boosting sales through product pages.
If you’re just getting started with product photos on eCommerce platforms like WooCommerce or Shopify, or you’d like to improve the quality of your current photos, keep reading to learn how to make the perfect eCommerce product photos.
How to make the best product photos for WooCommerce and all eCommerce sites
There are three main ways to obtain/capture product photos:
- Source existing product photos from manufacturers/suppliers
- Take your own photos (or hire someone to help)
- Use automated product mockup generators
We’ll cover all three methods in this post – let’s start at the beginning.
Option 1: Source photos from manufacturers
Did you start by seeing if your supplier or manufacturer already made product photos?
Sourcing your product photos this way depends on your fulfillment method, partners, and if your company assembles or manufactures the products itself. For instance, a company like Tesla wouldn’t expect product photos from its tire or windshield suppliers. Companies like that use multiple suppliers to assemble a completely new product. The same can be said for inventions. Many Shark Tank products haven’t been seen before. So, there’s no supplier from which to source product photos.
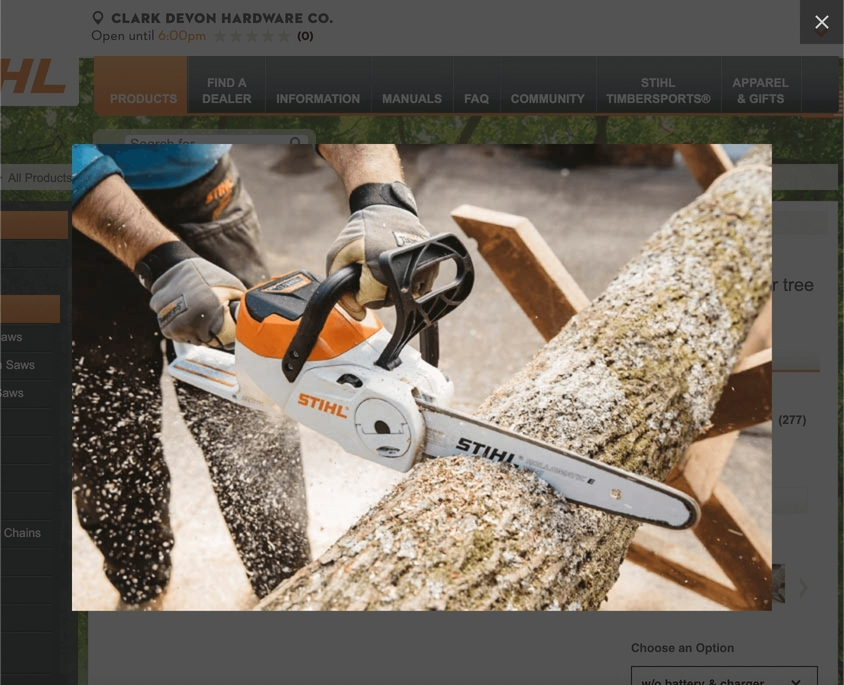
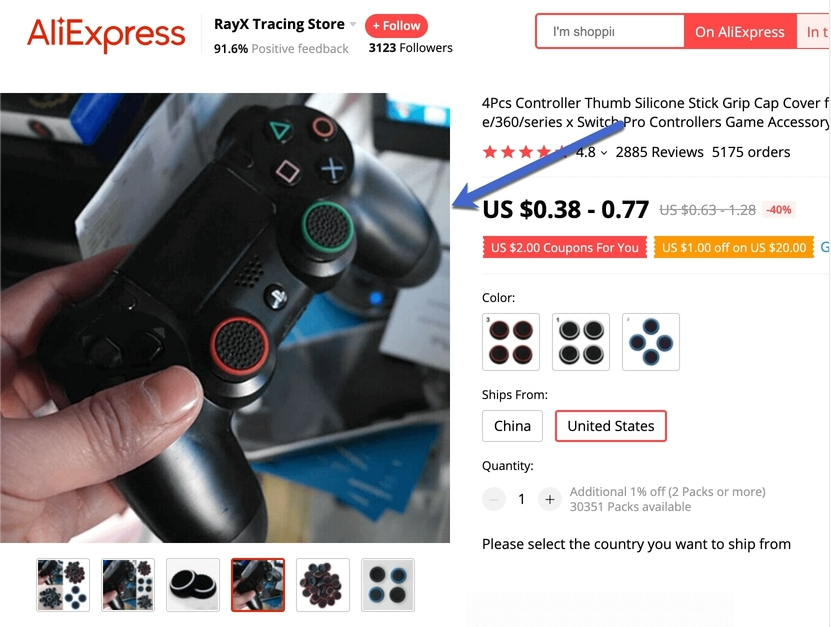
Having said that, many online retailers receive the finished product right from the supplier or manufacturer. There are retail and dropshipping websites that sell everything from STIHL leafblowers to Cetaphil facial cleanser and Patagonia apparel to the latest off-brand product on Amazon.
These items come from established suppliers, making it a wise decision to reach out to them before spending money on a photoshoot.
However, there may be stipulations.
Here are tips to consider while looking into product photos from suppliers and manufacturers:
- Know the terms of use. Not all suppliers let you take their photos, even if you’re a certified retailer. Contact the company to understand the terms for using their product photos.
- Make sure they’re of the highest quality. Manufacturers are notorious for outdated, low-resolution photos. If the pictures are grainy, boring, or with different backgrounds, consider taking your own photos.
- Edit the photos to fit the format and sizing for your website. Remove backgrounds, sharpen pictures, and cut out overlays.
Option 2: Take your own product photos
Oftentimes, a photoshoot is the only way to obtain photos for your products.
Also, running a photoshoot usually renders the highest-quality, brand-specific photos – as long as you invest in doing it right.
Here are the steps:
Hire a photographer or take your own pictures (with great care)
Ideally, you set aside a budget to hire a photographer with experience in eCommerce product photos.
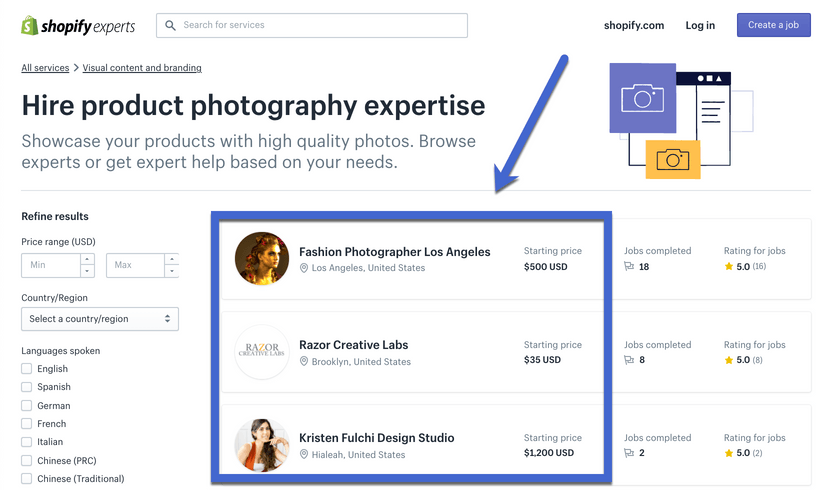
Upwork, Guru, and Fiverr are freelance marketplaces that can connect you with photographers. For a more local approach, seek out professionals with a Google search. There are also marketplaces for product photo experts.
If taking your own eCommerce product photos, consider these points:
- You’ll want a DSLR camera for serious product photos, though a modern smartphone can handle very simple product photos in a pinch if you nail the rest of your setup (e.g. lighting).
- Remember that lighting is often the most important part of getting beautiful photos.
- Research natural lighting techniques when taking lifestyle photos.
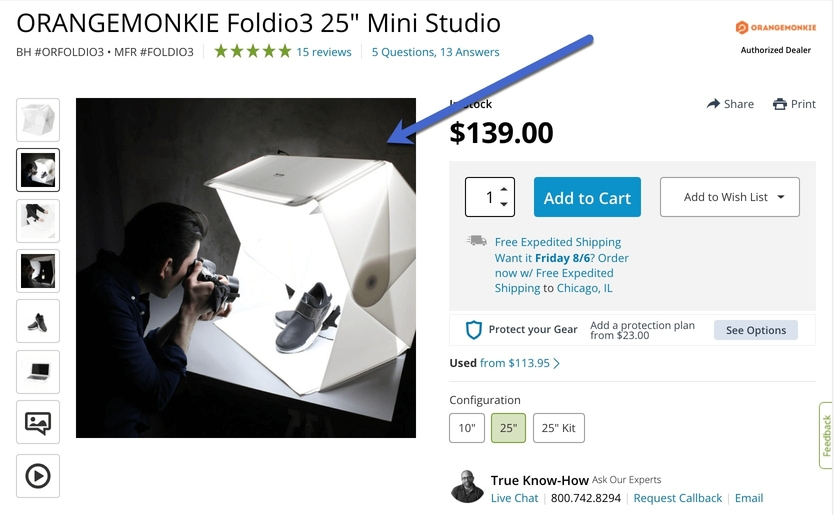
- Think about using photo background tents or boxes to capture “in-studio” style photos.
Select the right style for your industry, products, and demographic
What are you selling? Would it even make sense to have lifestyle photos for that product?
And what about your demographic and industry?
Sleeping bag product photos better show the bag near beautiful mountains and streams, or at least being unpacked inside a tent. Those are places where your demographic plans to use the item.

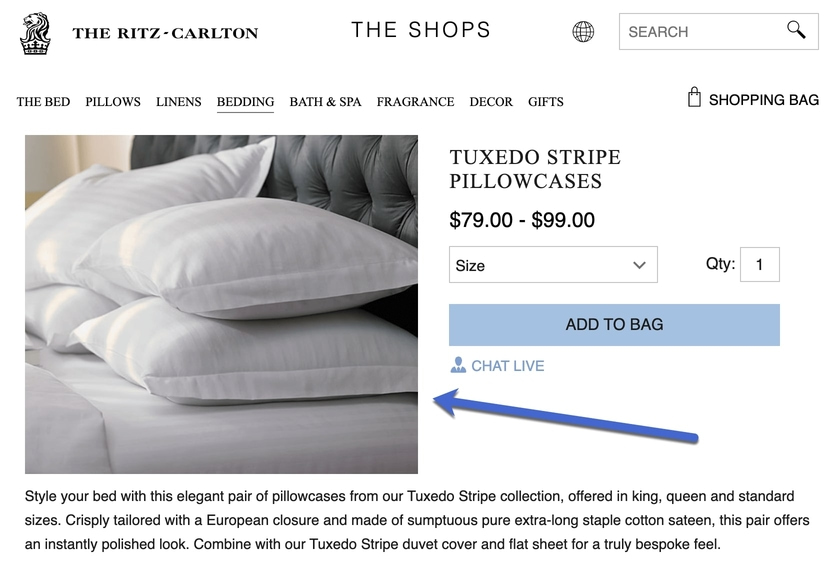
And items like pillows should be presented on beds or other furniture for people to visualize the product in their homes.
So, how do you decide the best style of product photos for your online shop?
Start with studio product photos using one solid background
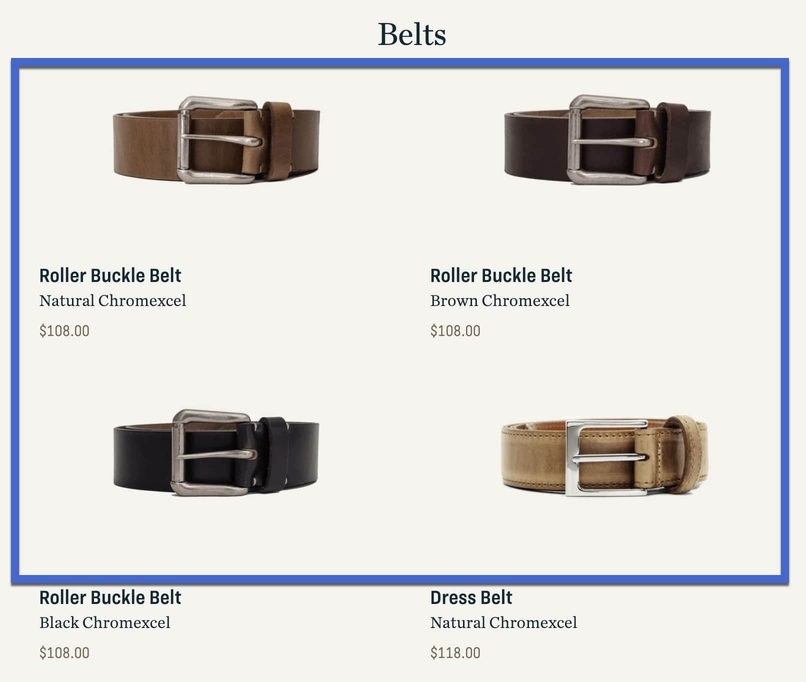
The “in-studio” photo serves as the go-to picture to highlight products in a clean, modern fashion. These “in-studio” shots have solid backgrounds (the same color for every item – often white).
They’re also nice since you don’t have to spend time going out into the elements to get the pictures. And all you typically need is a solid camera and a studio product shoot tent.
Here are some additional in-studio shots you may want to consider:
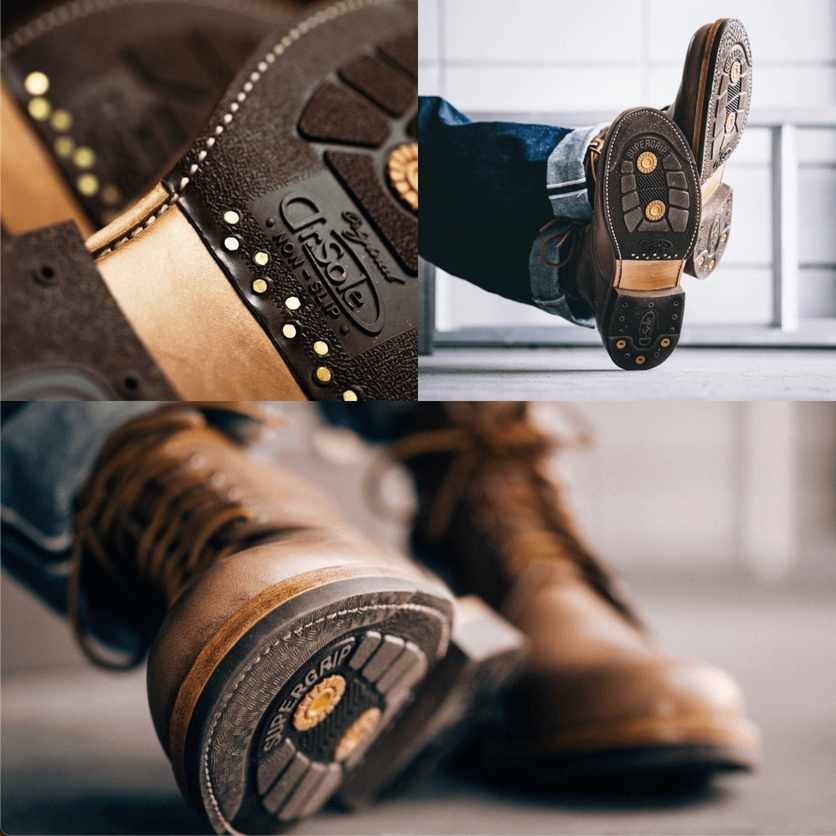
- Detail shots: zoomed-in pictures for products that sell well due to their smaller details.
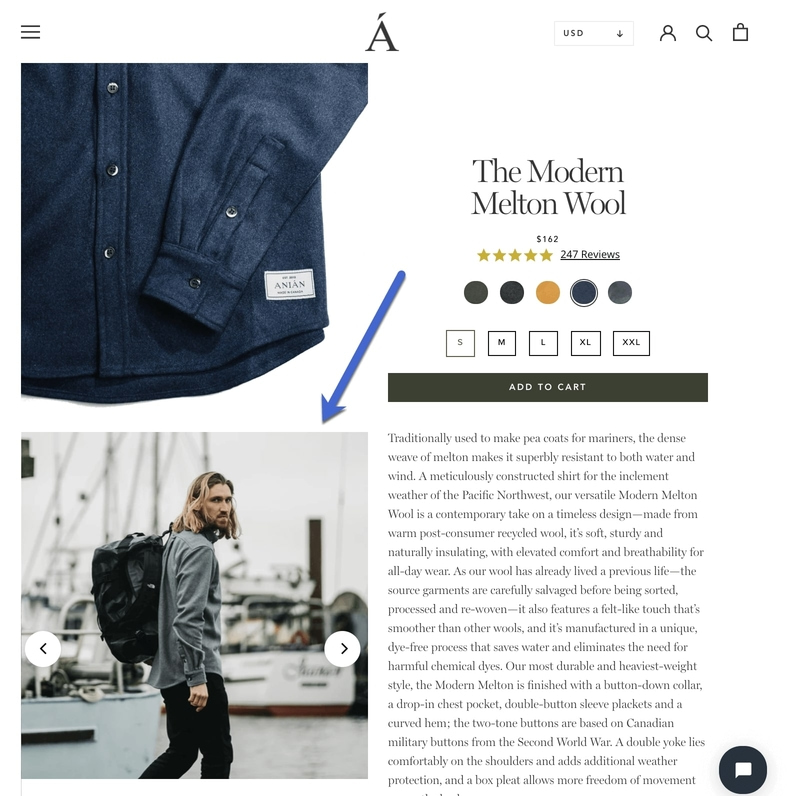
- Scale shots: pictures next to other objects to show their size, like showing a backpack on a person or a sticker in relative size to a dollar bill.
- Group shots: combination pictures if you sell bundled products.
- Packaging shots: product photos inside the packaging (often used when the packaging makes the product look more elegant).
- Process shots: multiple sequences of pictures to show the product being set up.
- Mounted or hanger shots: some products require a hanger or mount to present it without looking too flat.
As an example, these detail shots from a company called Oakstreet Bootmakers feature the handcrafted soles and non-slip materials of their boots.
Consider a rotating set for 360-degree studio shots
Another way to improve in-studio shots is by opting for a rotating set that snaps pictures of every angle. They sell rotating sets for small, medium, and large products. You can even get them for full human models.
Think about lifestyle shots
Lifestyle product photos put your items into the real world, allowing customers to visualize how they might look outside with a hat or how a bike looks on the road.
For lifestyle shots, it’s important to choose the right setting based on targeted demographics. Competitive bicyclists, for example, would probably rather see a guy cruising down a country road than a bike sitting outside a coffee shop.

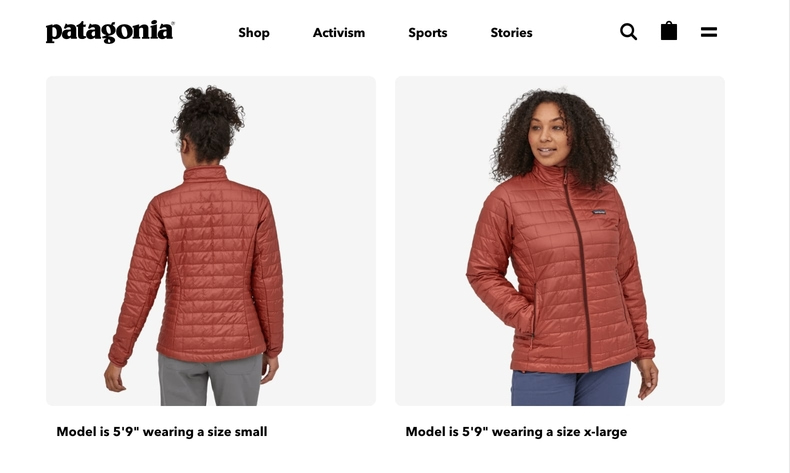
You should also consider hiring models for lifestyle shots if your product demands them. It’s far easier for a customer to envision a hat, handbag, or shirt on their own body if they see it on someone else’s first.
With models, make sure you find people experienced posing for a camera (you’d be surprised how difficult this is – sometimes using friends is a recipe for uncomfortable-looking poses). In addition, hire models who fit your demographic. A model who looks like a beachgoing post-grad has a completely different feel than a young female professional.
Send the product photos for processing and optimization
Although your product photos may already look great, post-processing is always necessary to take them to the professional level.
You can complete the editing if you have Photoshop experience, or communicate these editing and optimization tips to the person you hire:
- Optimize file sizes for fast loading online.
- Name each file for easier organization.
- Potentially remove all backgrounds to achieve a consistent background.
- Remove blemishes like glare, reflections, and scratches.
- Color corrects the photos so they’re identical to the real product.
- Optimize for white balance, contrast, and exposure.
- Improve the sharpness if needed.
- Incorporate shadows for effect.
- Straighten and crop all photos.
- Batch resize so all photos are the same dimensions.
- Think about incorporating a zooming tool on WooCommerce or another platform for improved views.
- Add a visual image carousel for customers to easily switch photos.
- Add alt text to photos to improve SEO and accessibility.
Option 3: Use automated product mockup generators
The final method is excellent for certain apparel and lifestyle products, especially those where you print a design on the item.
This method uses mockup generators for you to upload designs and place them on pre-created product photos for items like:
- Shirts
- Sweaters
- Pants
- Smartphone cases
- Stickers
- Frames
- Mugs
- And more
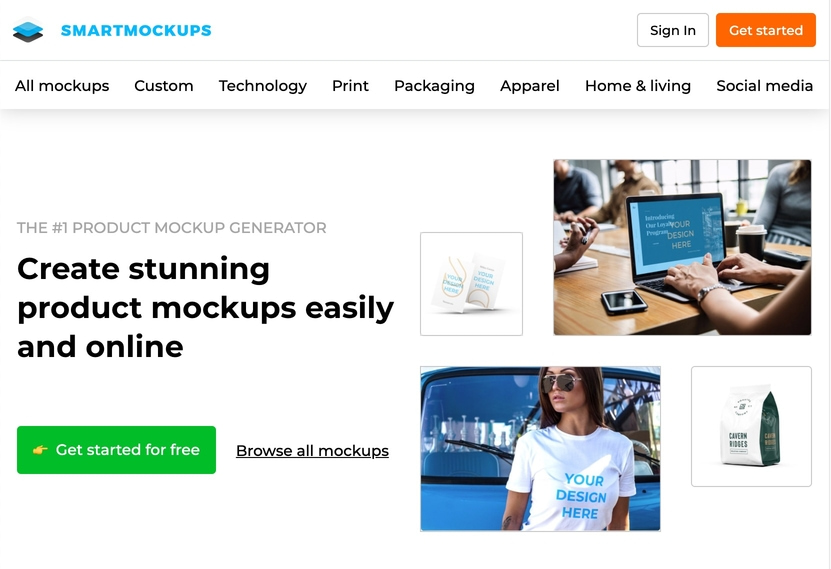
Mockup generators like SmartMockups offer professional in-studio and lifestyle photos ready for you to upload designs.
SmartMockups is the most affordable (usually free), but you can also check out PlaceIt and GraphicRiver for more options. Print-on-demand services like Printful and Printify provide auto-generated smart mockups as well.
To build a smart mockup, choose from the blank images that look the most like what you’re selling.
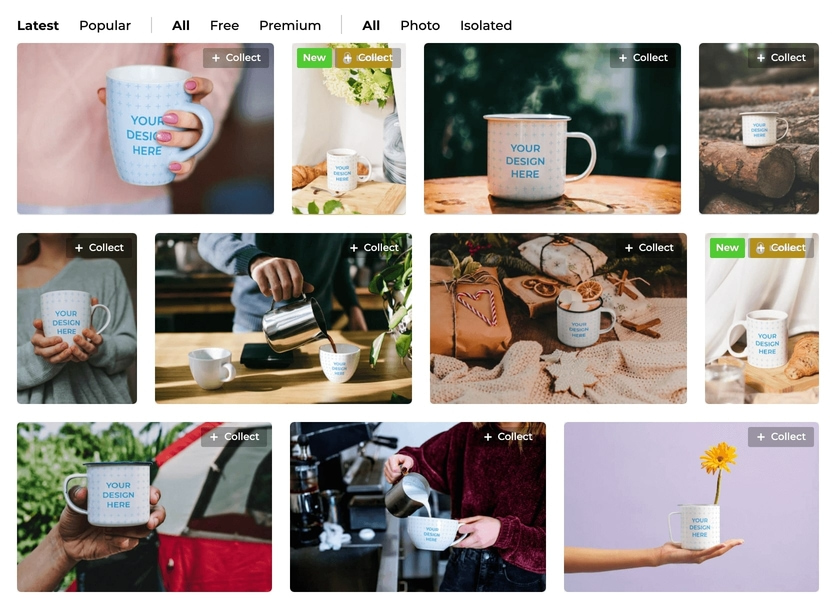
Then, upload a design to place it within the photo.
As you can see, we now have a beautiful lifestyle product photo of a mug with a flamingo.

Start taking better eCommerce product photos
Overall, product photos are essential for boosting sales and helping customers. Don’t skimp on this part of your website, as the photos are equivalent to the actual merchandise you see in a physical retail store. They must look amazing.
In this post, we’ve covered three different approaches you can use to create or source high-quality photos for your products.
Of course, having great product photos is only one part of creating an optimized product page. For some other tips, check out our full guide to optimizing the WooCommerce product page.
Still have any questions about creating quality product photos for your store? Let us know in the comments!
Post a Comment